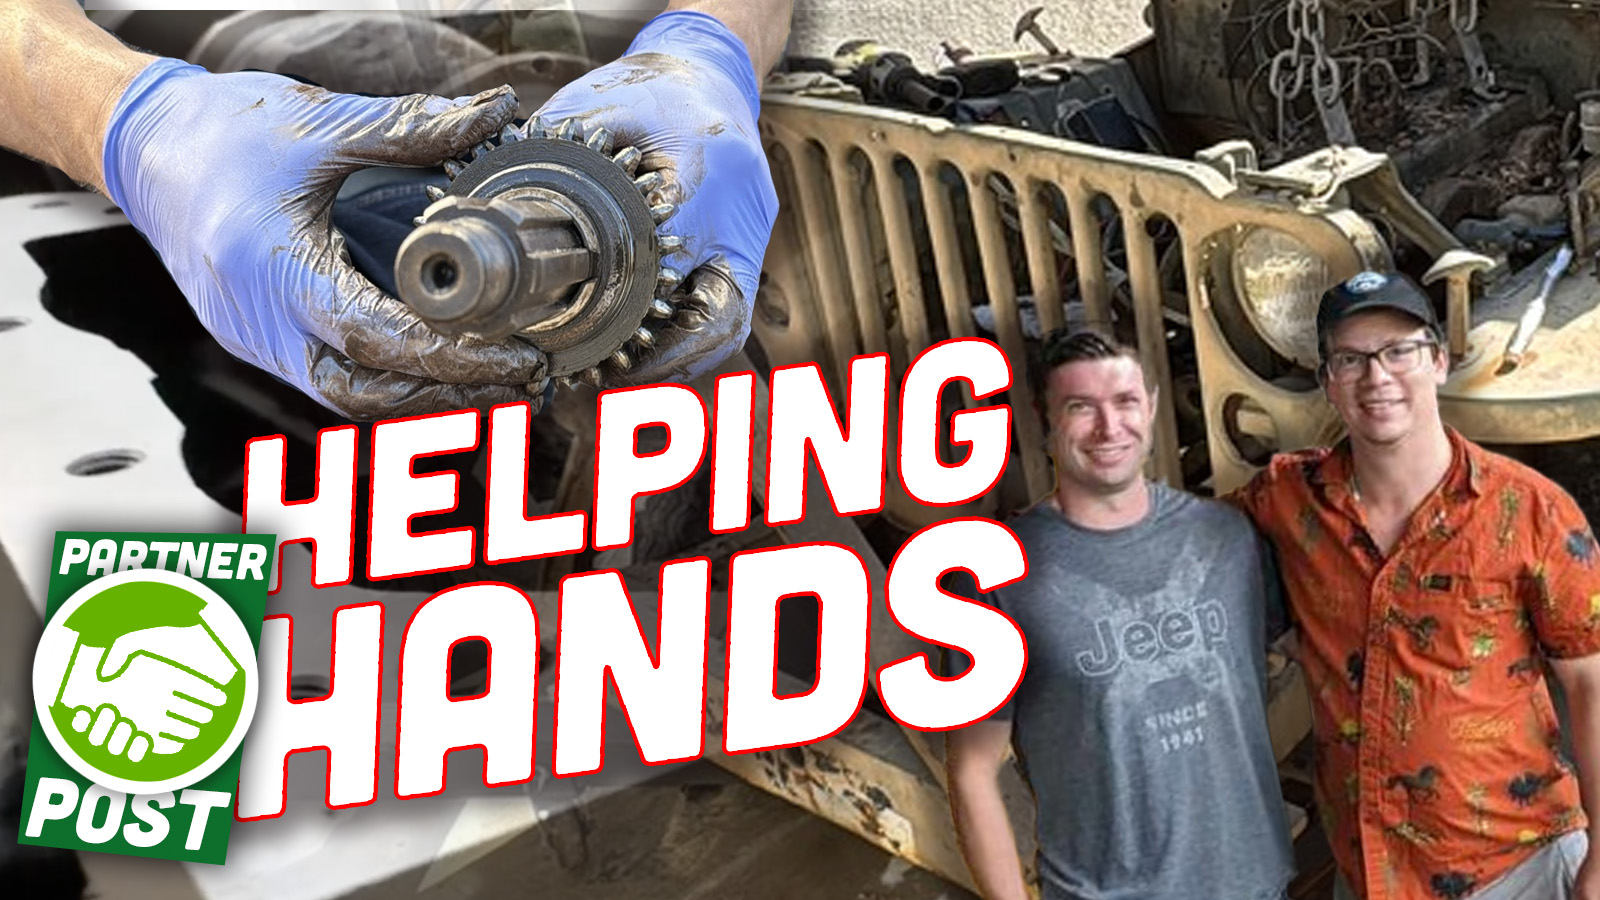
Do you have a friend or coworker with whom you can seemingly solve even the most daunting of problems? I do, and his name is Brandon, who happened to be the very first car-geek I met when I arrived in Detroit for my engineering internship at Chrysler in 2012. He and I have worked together on some truly grueling projects over the past 13 years, and we’ve accomplished the seemingly impossible. Between those wins, and the fact that he’s restored multiple flatfender Jeeps (including a WWII Jeep), it only made sense for me to fly Brandon to LA to get a bit of assistance on my eBay WWII Jeep build — my quest to build an iconic Willys using primarily parts from eBay. And my goodness did we get a lot done.
I’ve accomplished some seriously challenging builds over the years on my own. I managed to get a completely rotted-out and mouse-infested Willys FC-170 running and driving in a matter of weeks. I got a $500 rustbucket Postal Jeep repaired mostly by myself. And I could go on and on. But the truth is: The biggest, most improbable of my wrenching wins have involved Brandon being there by my side. He is a truly incredible mind, not just when it comes to wrenching, but when it comes to problem solving in general. I have met very, very few people as efficient and effective as he, while also just being a joy to work with. He is the ultimate teammate.
![]()
I picked him up at LAX a month ago; the plan was to spend a long weekend working on the WWII Jeep. He had to take days off work just for this, because, as I mentioned earlier, he’s the man. As soon as we arrived in my driveway, we got straight to work pulling the engine on my reference Jeep, a clapped-out WWII Jeep that I’d snagged for $1500 and that sits in my driveway for two reasons: So I can have something to look at as I assemble my own WWII Jeep from scratch using primarily parts sourced from eBay, and also so I can pilfer some small/random parts when needed.
Building A Motor
Since Brandon and I wanted to get straight to building the brand new, France-built engine, we decided to yank the reference Jeep’s motor so we could make A look like B. Brandon and I had the reference Jeep motor removed from that WWII Jeep in about 30 minutes.

We then hooked that reference Jeep engine and my shiny new engine block onto their own engine stands, and began assembling my new motor. But not before having a peek at the rustbucket’s engine, whose dipstick was completely rusted, leading me to think that the motor was toast.
Nope! It turns out, the reference Jeep’s engine looks amazing inside. Somehow:


Here’s a look at the new engine block:

Brandon and I found some metal shavings in various places including the main bearing caps:

After an initial cleaning with some brake cleaner (part of me worries that not having this hot-tanked might come back to haunt me, but we were careful getting it nice and clean), Brandon and I ground down an oil tube that was too tight to fit the rear main bearing cap:


It now fits snug:

We actually had to drill out some holes in the main bearings themselves (yes, we drilled into the main bearings; yikes!) in order for them to fit the dowels that we had frozen and then hammered into the engine block.


Once we had the main bearings in place, we installed the crankshaft:

Now it was time to check bearing clearance. To do that, we just placed a tiny piece of plasti-gauge (a colorful twizzler-like tool) onto the top of the crankshaft journals:

Then we placed the main bearing caps onto those journals:

Snugging the bearing down squeezed the twizzler-like plasti-gauge, which we lined up with the measuring-tool in which the plasti-gauge is packaged, revealing bearing clearance of about 0.003 inches.

We got the same measurement across all three journals/bearings. This new engine and the bearings that came with it seem to be on the high end of the bearing clearance tolerance. In spec, but barely.
We then took the crank out, shoved in a new rear main seal (a rope seal; we tried a rubber seal, but it just locked up the crankshaft), rubbed some assembly lube on the crankshaft journals, dropped the crankshaft back into place, and snugged down all the main bearing caps. The crankshaft now spins like a dream, gliding with just a light twist of the wrist.
Brandon installed the sole camshaft bearing into the block using my trusty hockey puck that I usually have sitting on the end of my floor jack:


The camshaft, like the crank, glides like a dream. Unfortunately, that gliding will not be activating the valves, since the lifters that I’d purchased for the engine were too large for the block. I had purchased what I was told are new-old stock lifters directly from a company called Kaiser Willys; those lifters are too large (as I confirmed with a micrometer), leading me to think that perhaps they were actually oversized lifters. Most folks, when they rebuild their engine, will have their lifter bore sizes increased, hence the prevalence of oversized lifters and the rarity of original-sized ones.

I’ve got new lifters coming from France, from the same manufacturer who cast the new engine. I have my fingers crossed, and if those don’t fit I’ll have to take my engine to a machine shop to upsize my lifter bores, or I’ll have to use some old lifters. We’ll see.
Speaking of valve actuation, Brandon and I also checked the valve-valve guide tightness, and did a bit of valve lapping for good measure:


Plus we banged in the freeze plugs:

Next, it was time to refresh that transmission.
Tearing Into A Transmission
You might recall that transmission I drove 2000 miles to pick up from an eBay seller in Washington state. Well, it looked fantastic inside:


Still, this Jeep has a brand new engine, so Brandon and I figured we’d give it a brand new transmission, at least guts-wise. The eBay case is original, but the innards were available brand new from the eBay seller I’d met up with in Oregon on the way to buy the transmission/axles/spare motor.

Rebuilding a toploader transmission is an absolute joy, as all the gears just drop in from the top. Brandon has rebuilt Willys transmissions probably 5 gazillion times, so this was child’s-play for him. Sort of.
He set off putting the main shaft together (see above) while I got the dirty job that involved scraping and brushing and spraying 80 year-old grease off an old transmission case:

By the time I was done, I could see that this transmission had been cast in July of 1944:

I don’t think Brandon and I should have rebuilt the transmission on his last night in LA, because we were tired, and this led us to make mistakes. Lots of mistakes.

This is a pretty simple gearbox to rebuild, but we got some synchronizers stuck, we had some needle bearings fall out of position, and we had to make some tools out of old parts. For example, we had to hone this bearing out so we could use it to bang another bearing:

Here you can see the needle bearings in the output shaft. Keeping these in position is critical when rebuilding the transmission:

Here we are, late at night, redoing our work for the third time:

Then, in classic wrenching fashion, the following morning Brandon woke up and completely rebuilt the transmission in 30 minutes. A clear, rested mind goes a long way.

Here is Brandon bolting the rebuilt transmission to the transfer case to check end-play:

I still have to finish the shift rails, but the gears/synchros/bearings are all rebuilt, so we’re getting there.
Inspecting The Axles That I Bought In Washington
I should have inspected the four axles I bought in Washington prior to leaving Washington, as the seller had a huge stash. But for reasons unknown, I did not, and the result is that one of the front axles I brought home is a boat anchor. Or maybe I should say it was a boat anchor — literally:

So anyway, that axle is useless. I only bought one other front axle, so I prayed that it looked better, and…

Thank goodness! This front axle looks and operates perfectly, sans a pinion seal leak.
What about the rears? Well, the first one I picked up had a spider gear that was wobbling all over the cross-pin. You can’t see a wobble, but trust me when I say this diff is toast:

The second rear axle didn’t have that issue, though there is a bit of a whirring noise coming from, I think, the pinion bearing:

Still, overall the diff looks good, and though I will tear into it later, Brando and I recognize the importance of getting the vehicle assembled quickly so we can test the critical systems like the new engine and transmission. So we bolted the axle up to a set of eBay-sourced leaf springs and U-bolts:


I still need to bolt that suspension assembly to the frame, and finish up the motor once those French lifters arrive. Then I need to go through that transfer case, then bolt it all up, rig up an electrical system/fuel system, go through the brakes, and then try to drive the frame around town to identify any major powertrain/drivetrain concerns. Only then does it make sense to start working on the body.


I have a lot of work ahead. But it’s less work than before thanks to my good friend Brandon.
[Ed note: David mentioned the idea of building a brand new WWII Jeep to the team at eBay, and they loved the idea so much they said, “How can we help?” Their financial support and David’s Jeep-obsession are the fuel behind this crazy build. – MH]


